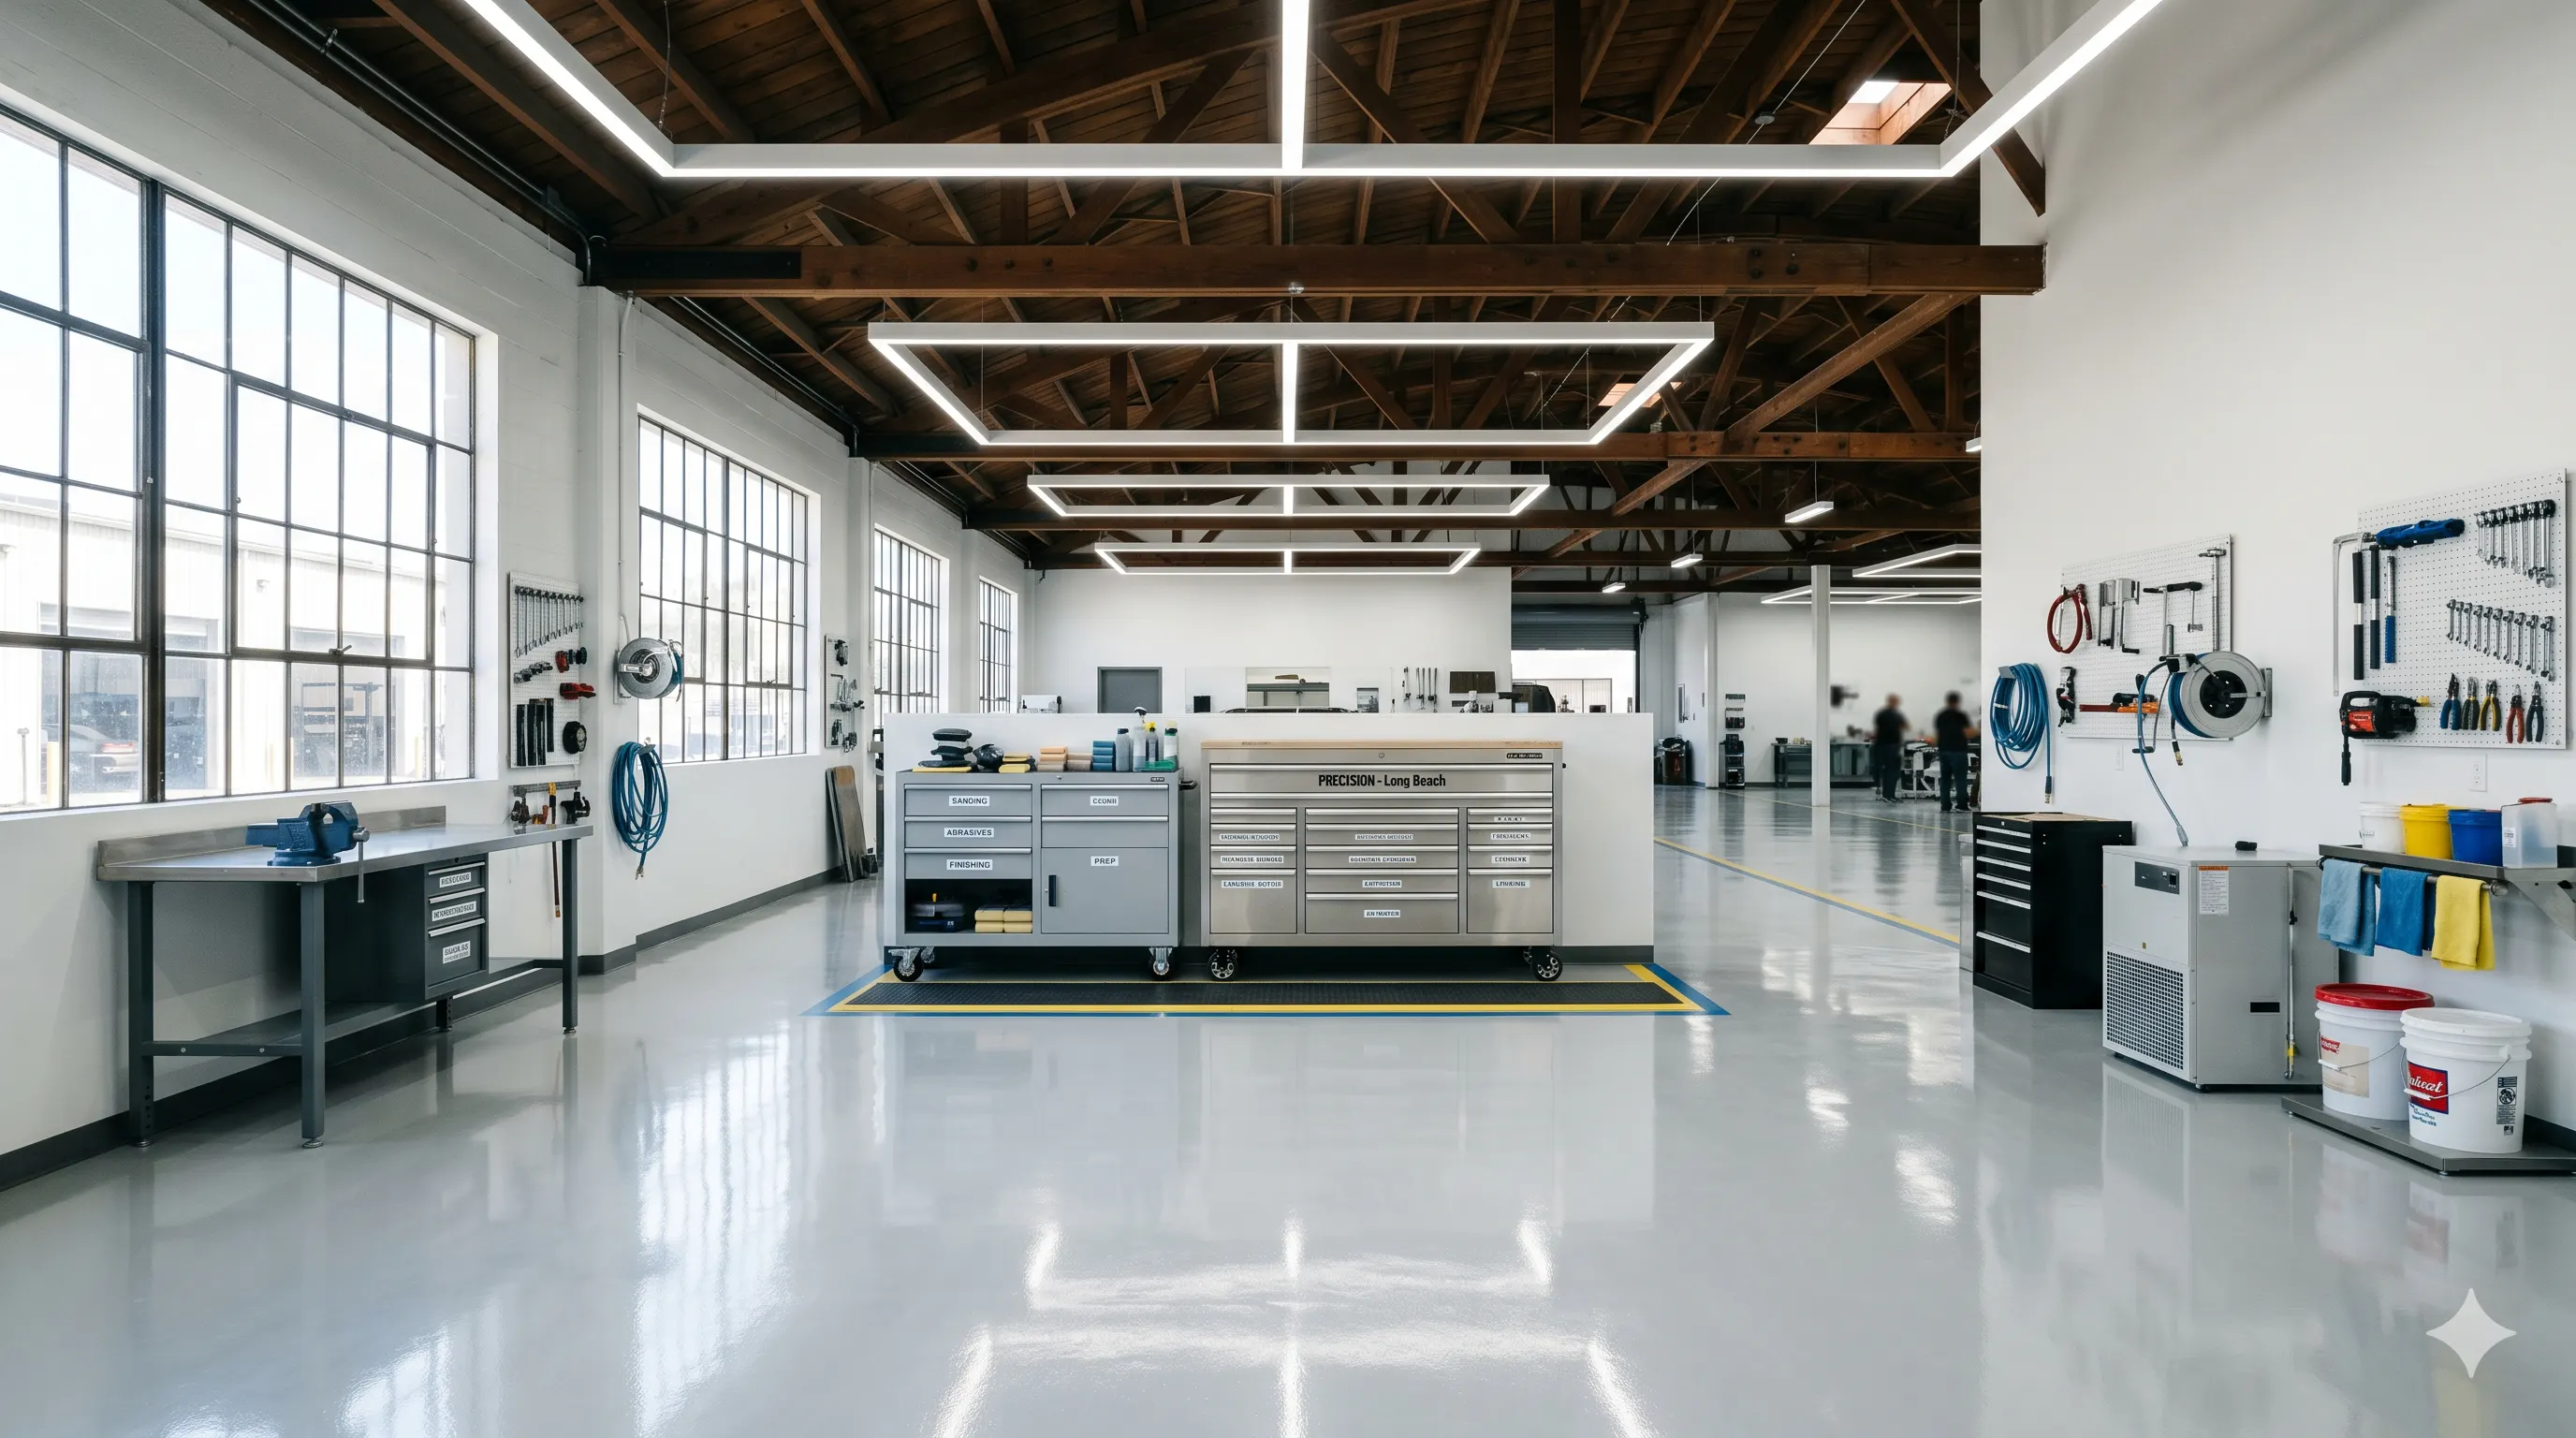
How We Work
A car spends 95% of its time with us not being painted.
Color is the part of refinishing that gets photographed. The other six stages are what determine whether the paint is still beautiful in twenty years. Here's how we work.
Stage 01
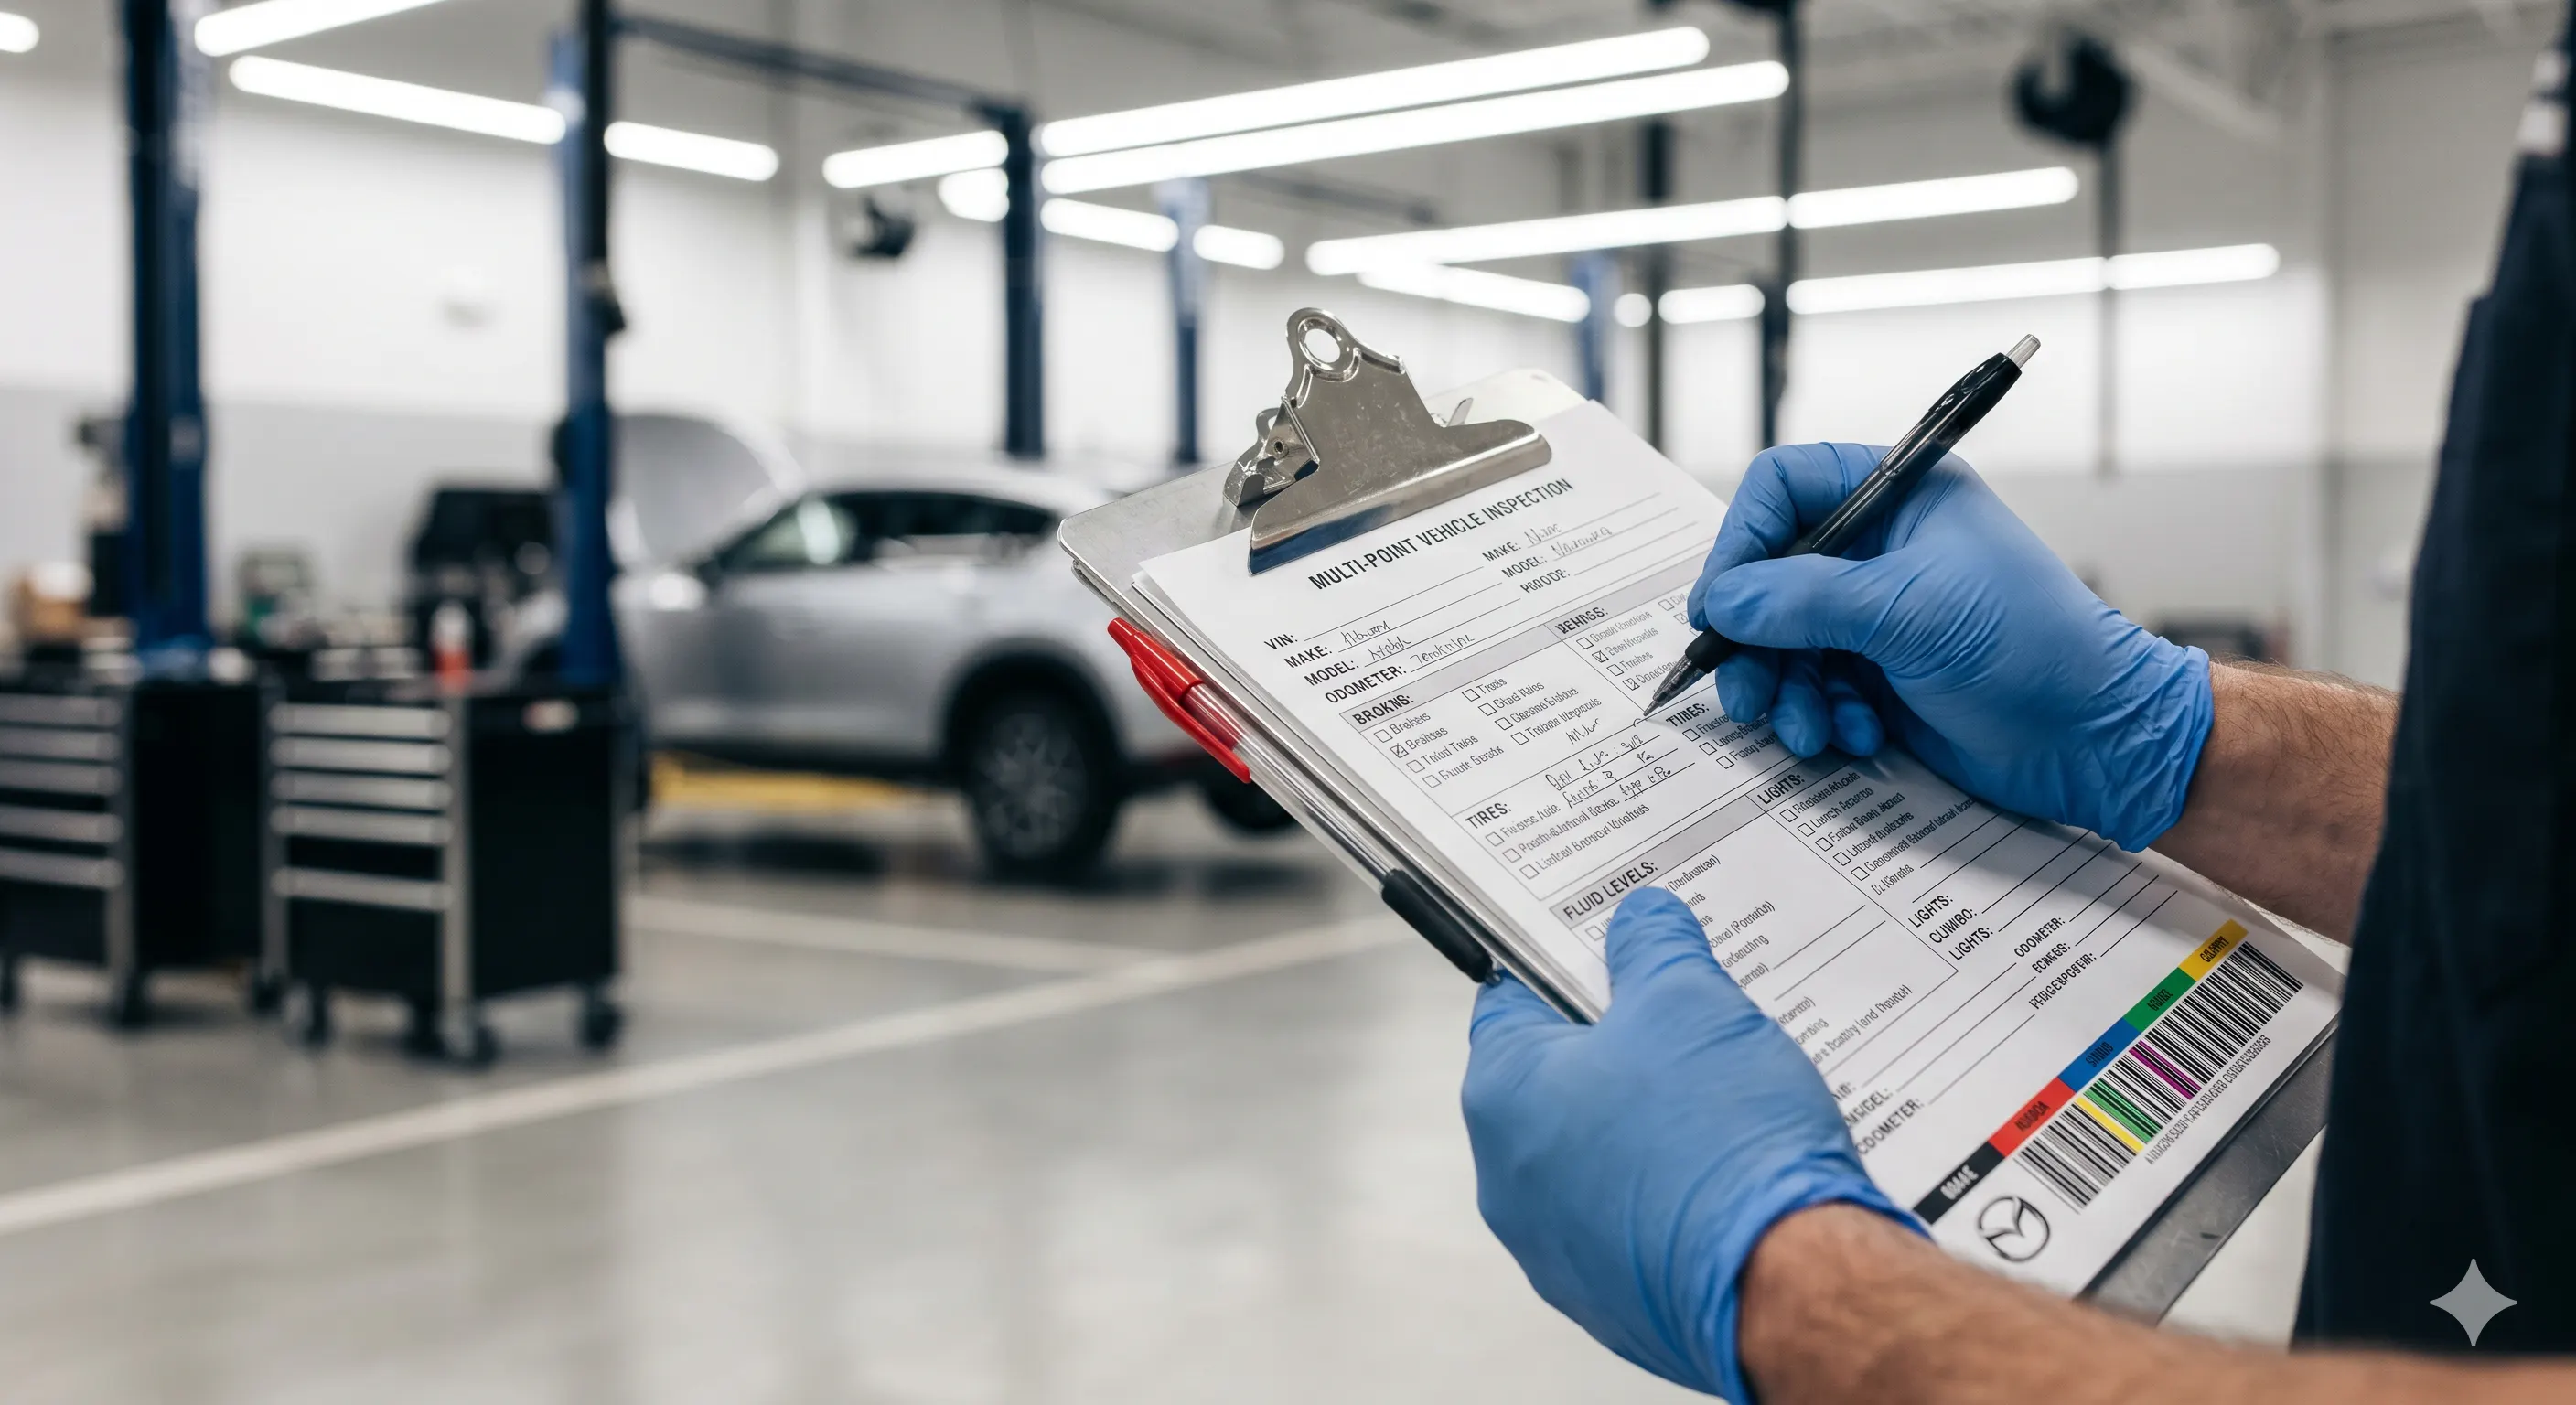
Intake & Documentation
When a car arrives, the first thing we do is look at it carefully. We photograph every panel, every scratch, every existing repair. We pull factory tags and build records. If the car has original paint anywhere — door jambs, under trim, inside the trunk — we save samples and reference them throughout the project.
This stage takes 1–2 days. The output is a written condition report and color analysis that becomes the project's reference document.
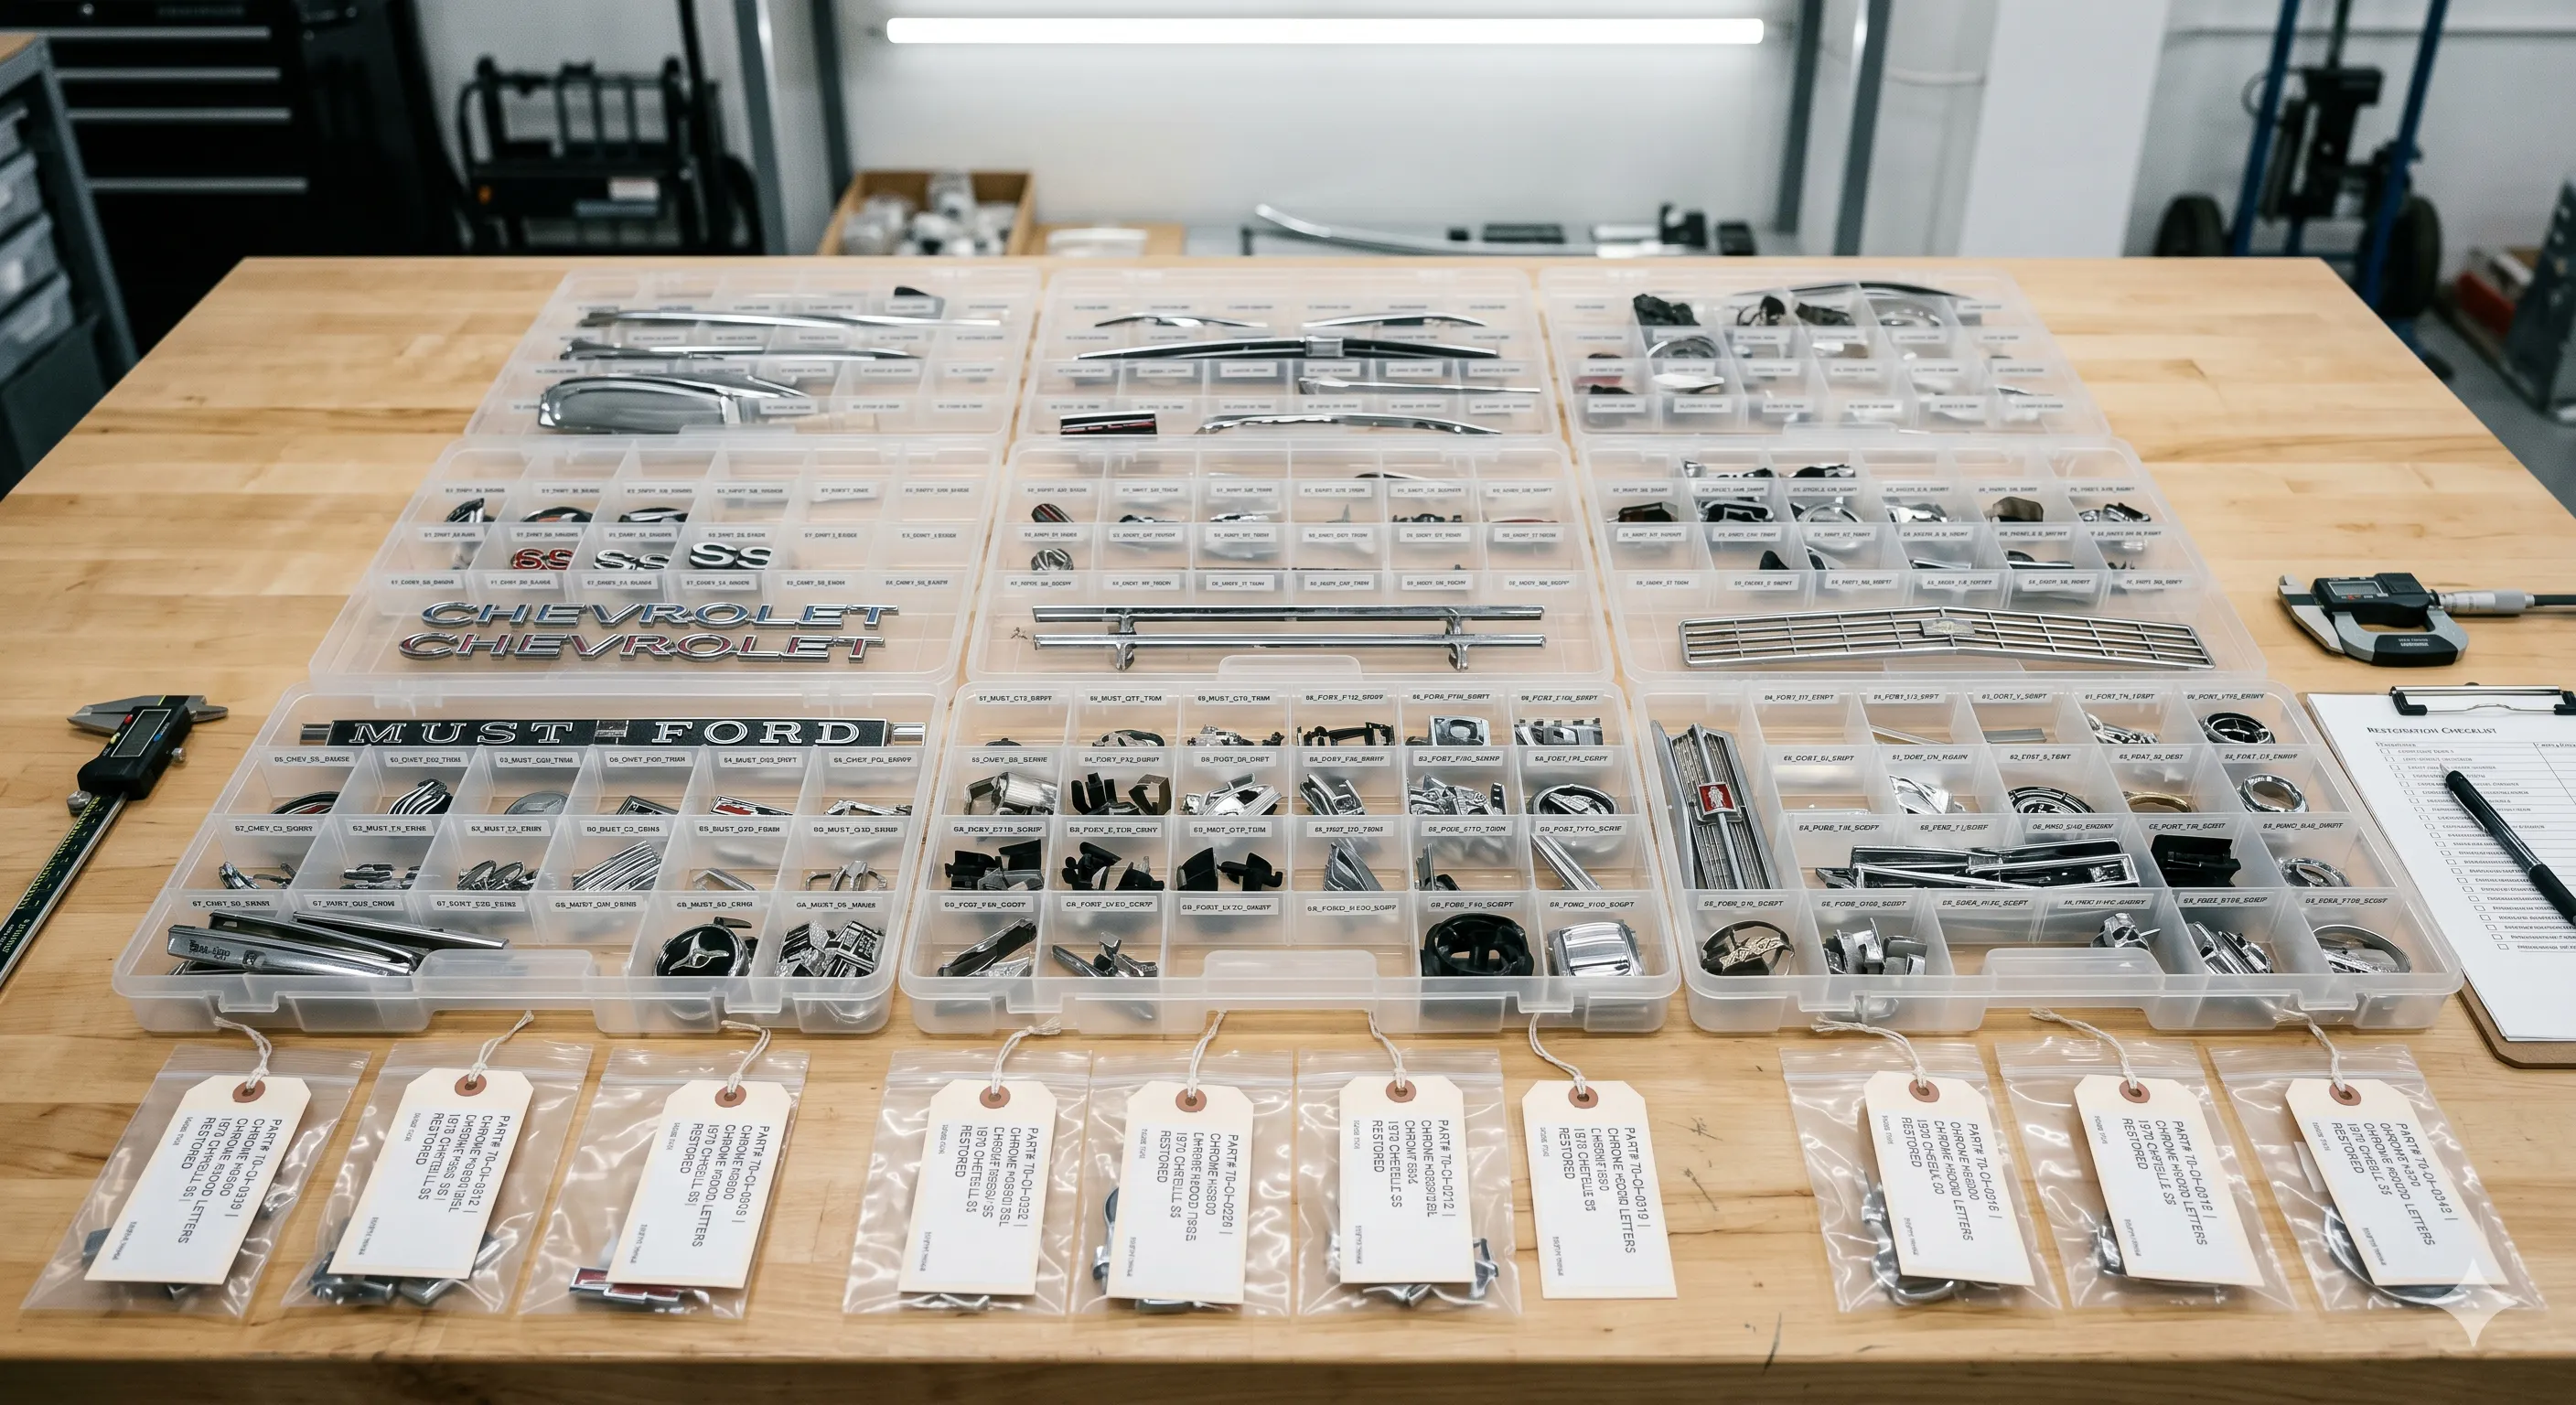
Stage 02
Disassembly
Trim, glass, lighting, badging, weather strip, door handles, hinges — everything comes off. Each piece is bagged, labeled, and photographed in place before removal so reassembly is exact.
Anything that won't be reused is set aside; anything that will be is cleaned, evaluated, and stored.
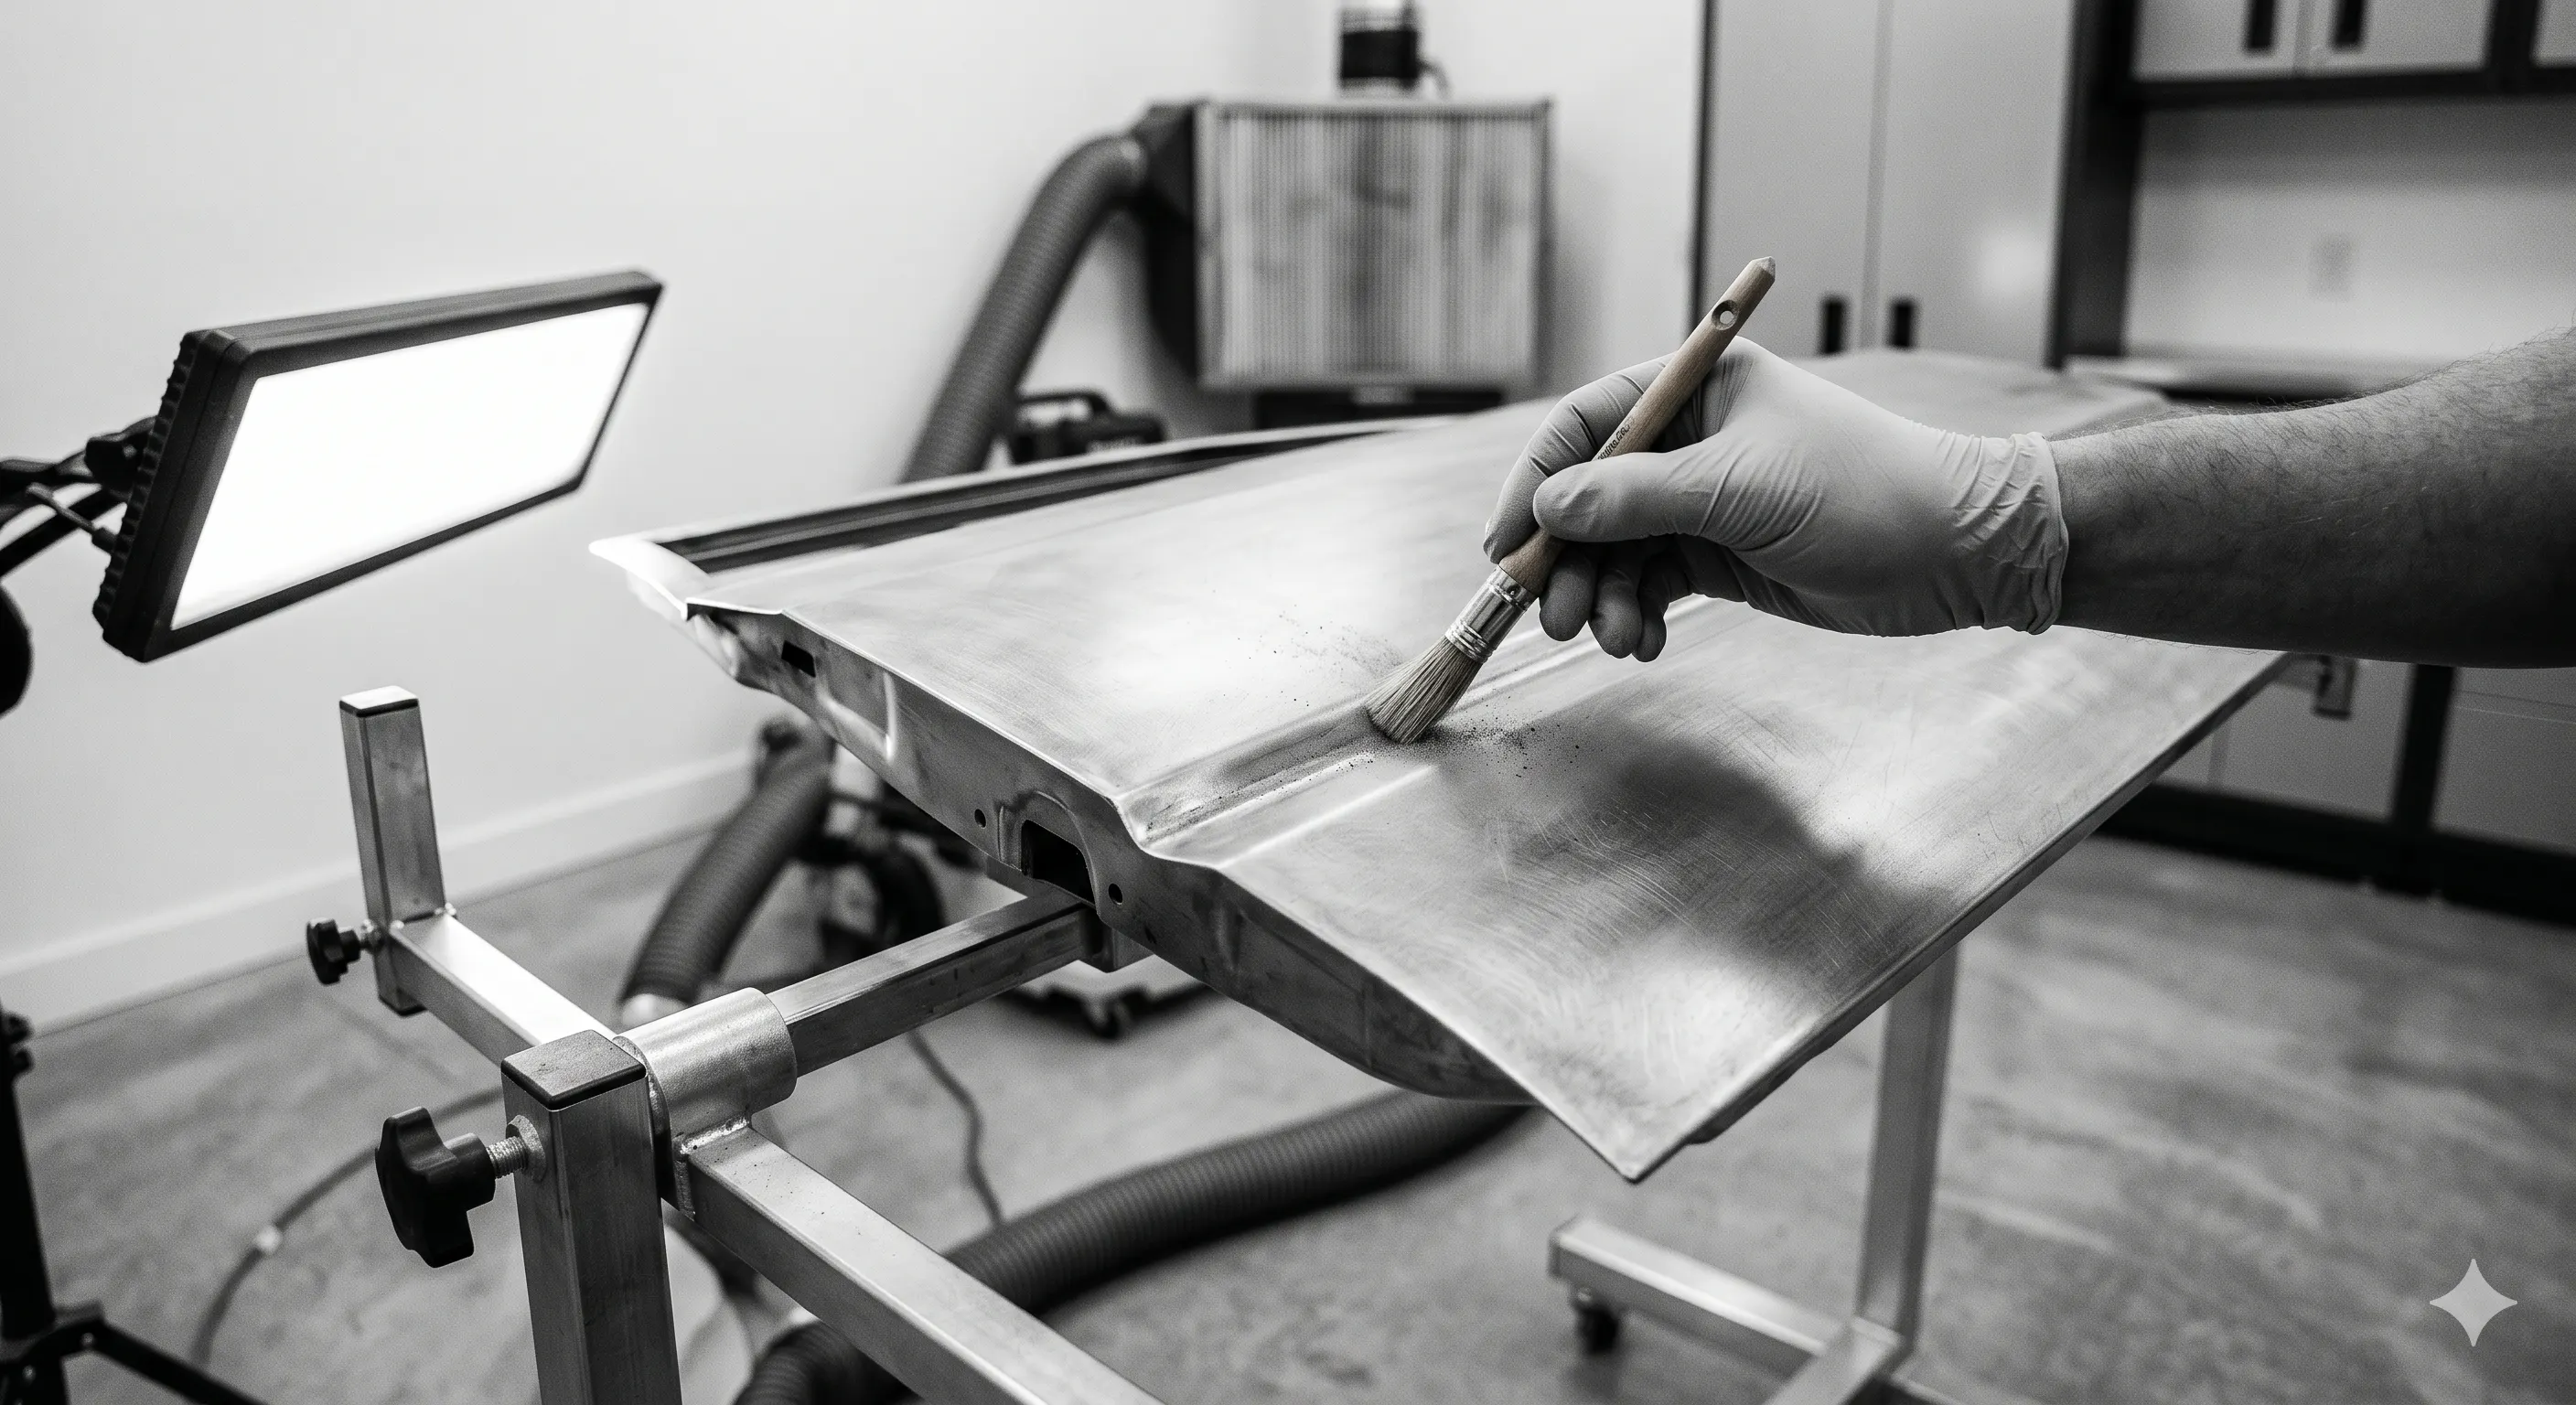
Stage 03
Strip to Bare Metal
Method depends on the panel and the car. Heavy structural panels often go to media blast. Thin panels, particularly older sheet metal that can warp, are usually chemical-stripped. Aluminium and pot metal get hand-stripped.
We don't paint over old finishes. Ever. The integrity of new paint is only as good as what's underneath, and we'd rather find rust now than have it bubble through your fresh paint in two years.
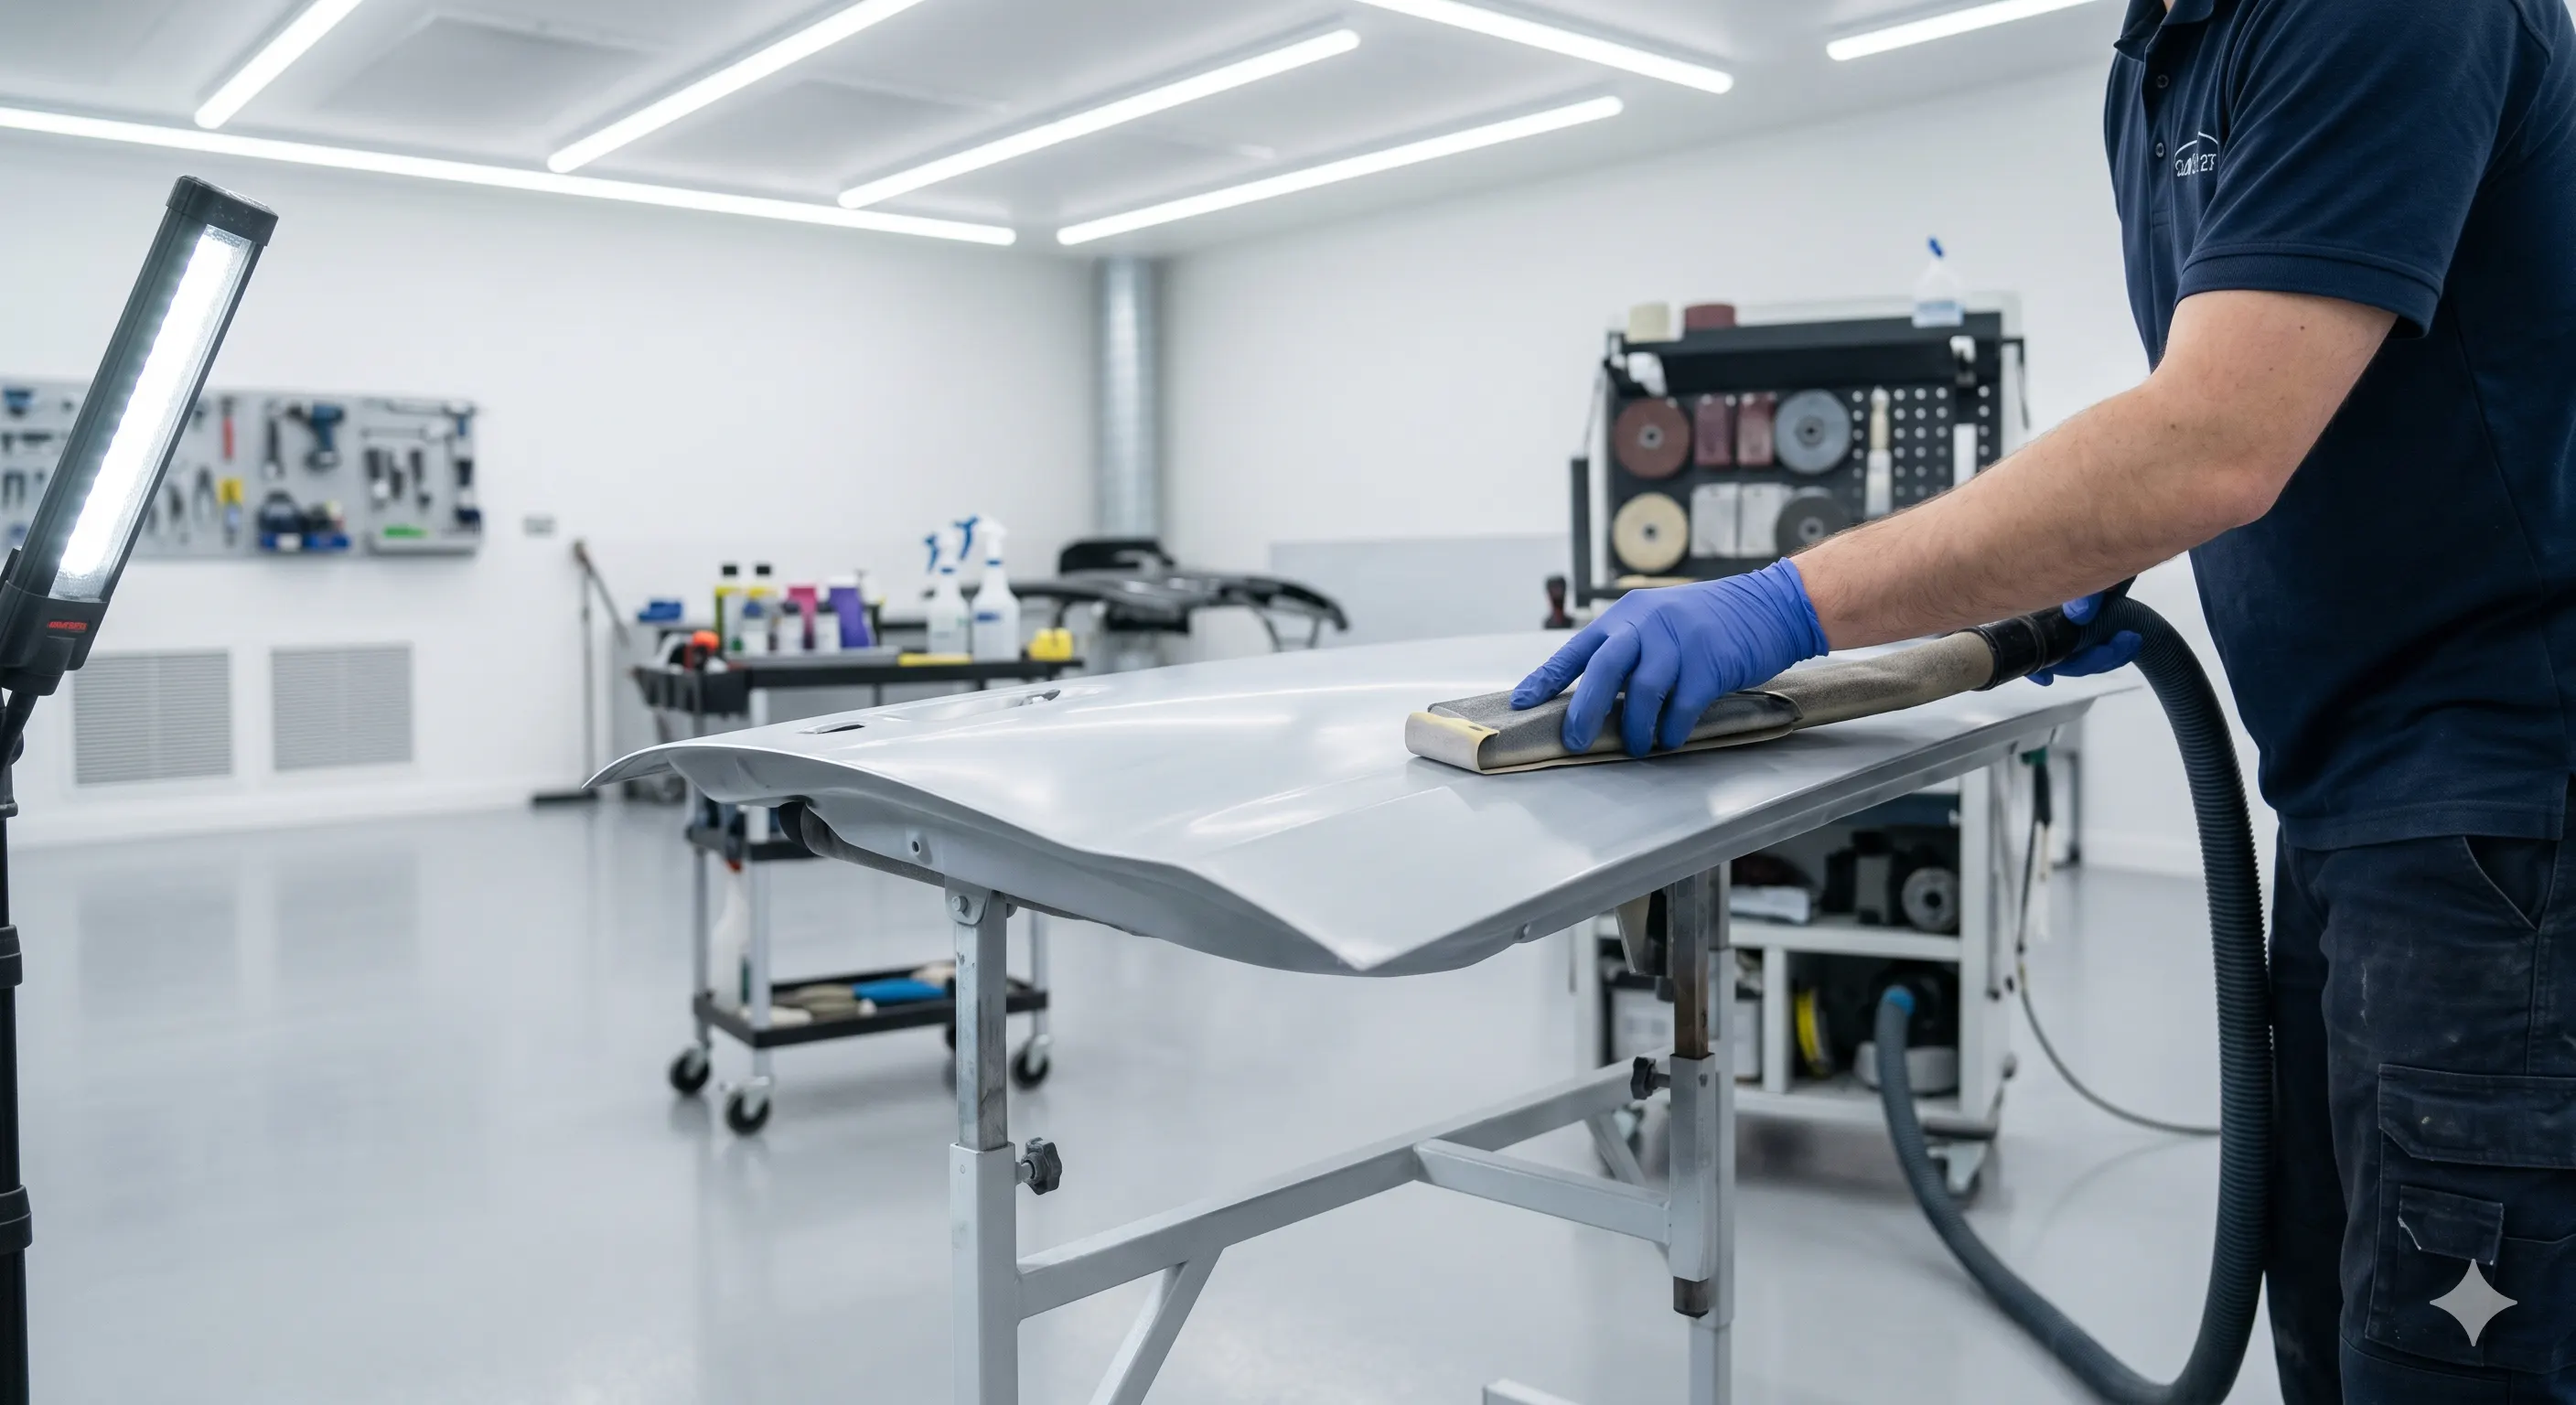
Stage 04
Bodywork & Block-Sanding
This is where the real time goes. Panels are straightened, rust repair is fabricated and welded in, low spots are filled, and the entire body is block-sanded — meaning we use rigid blocks, not hands, so the surface comes out truly flat.
A car straight under primer is a car that will be straight under color. There's no fixing geometry with paint.
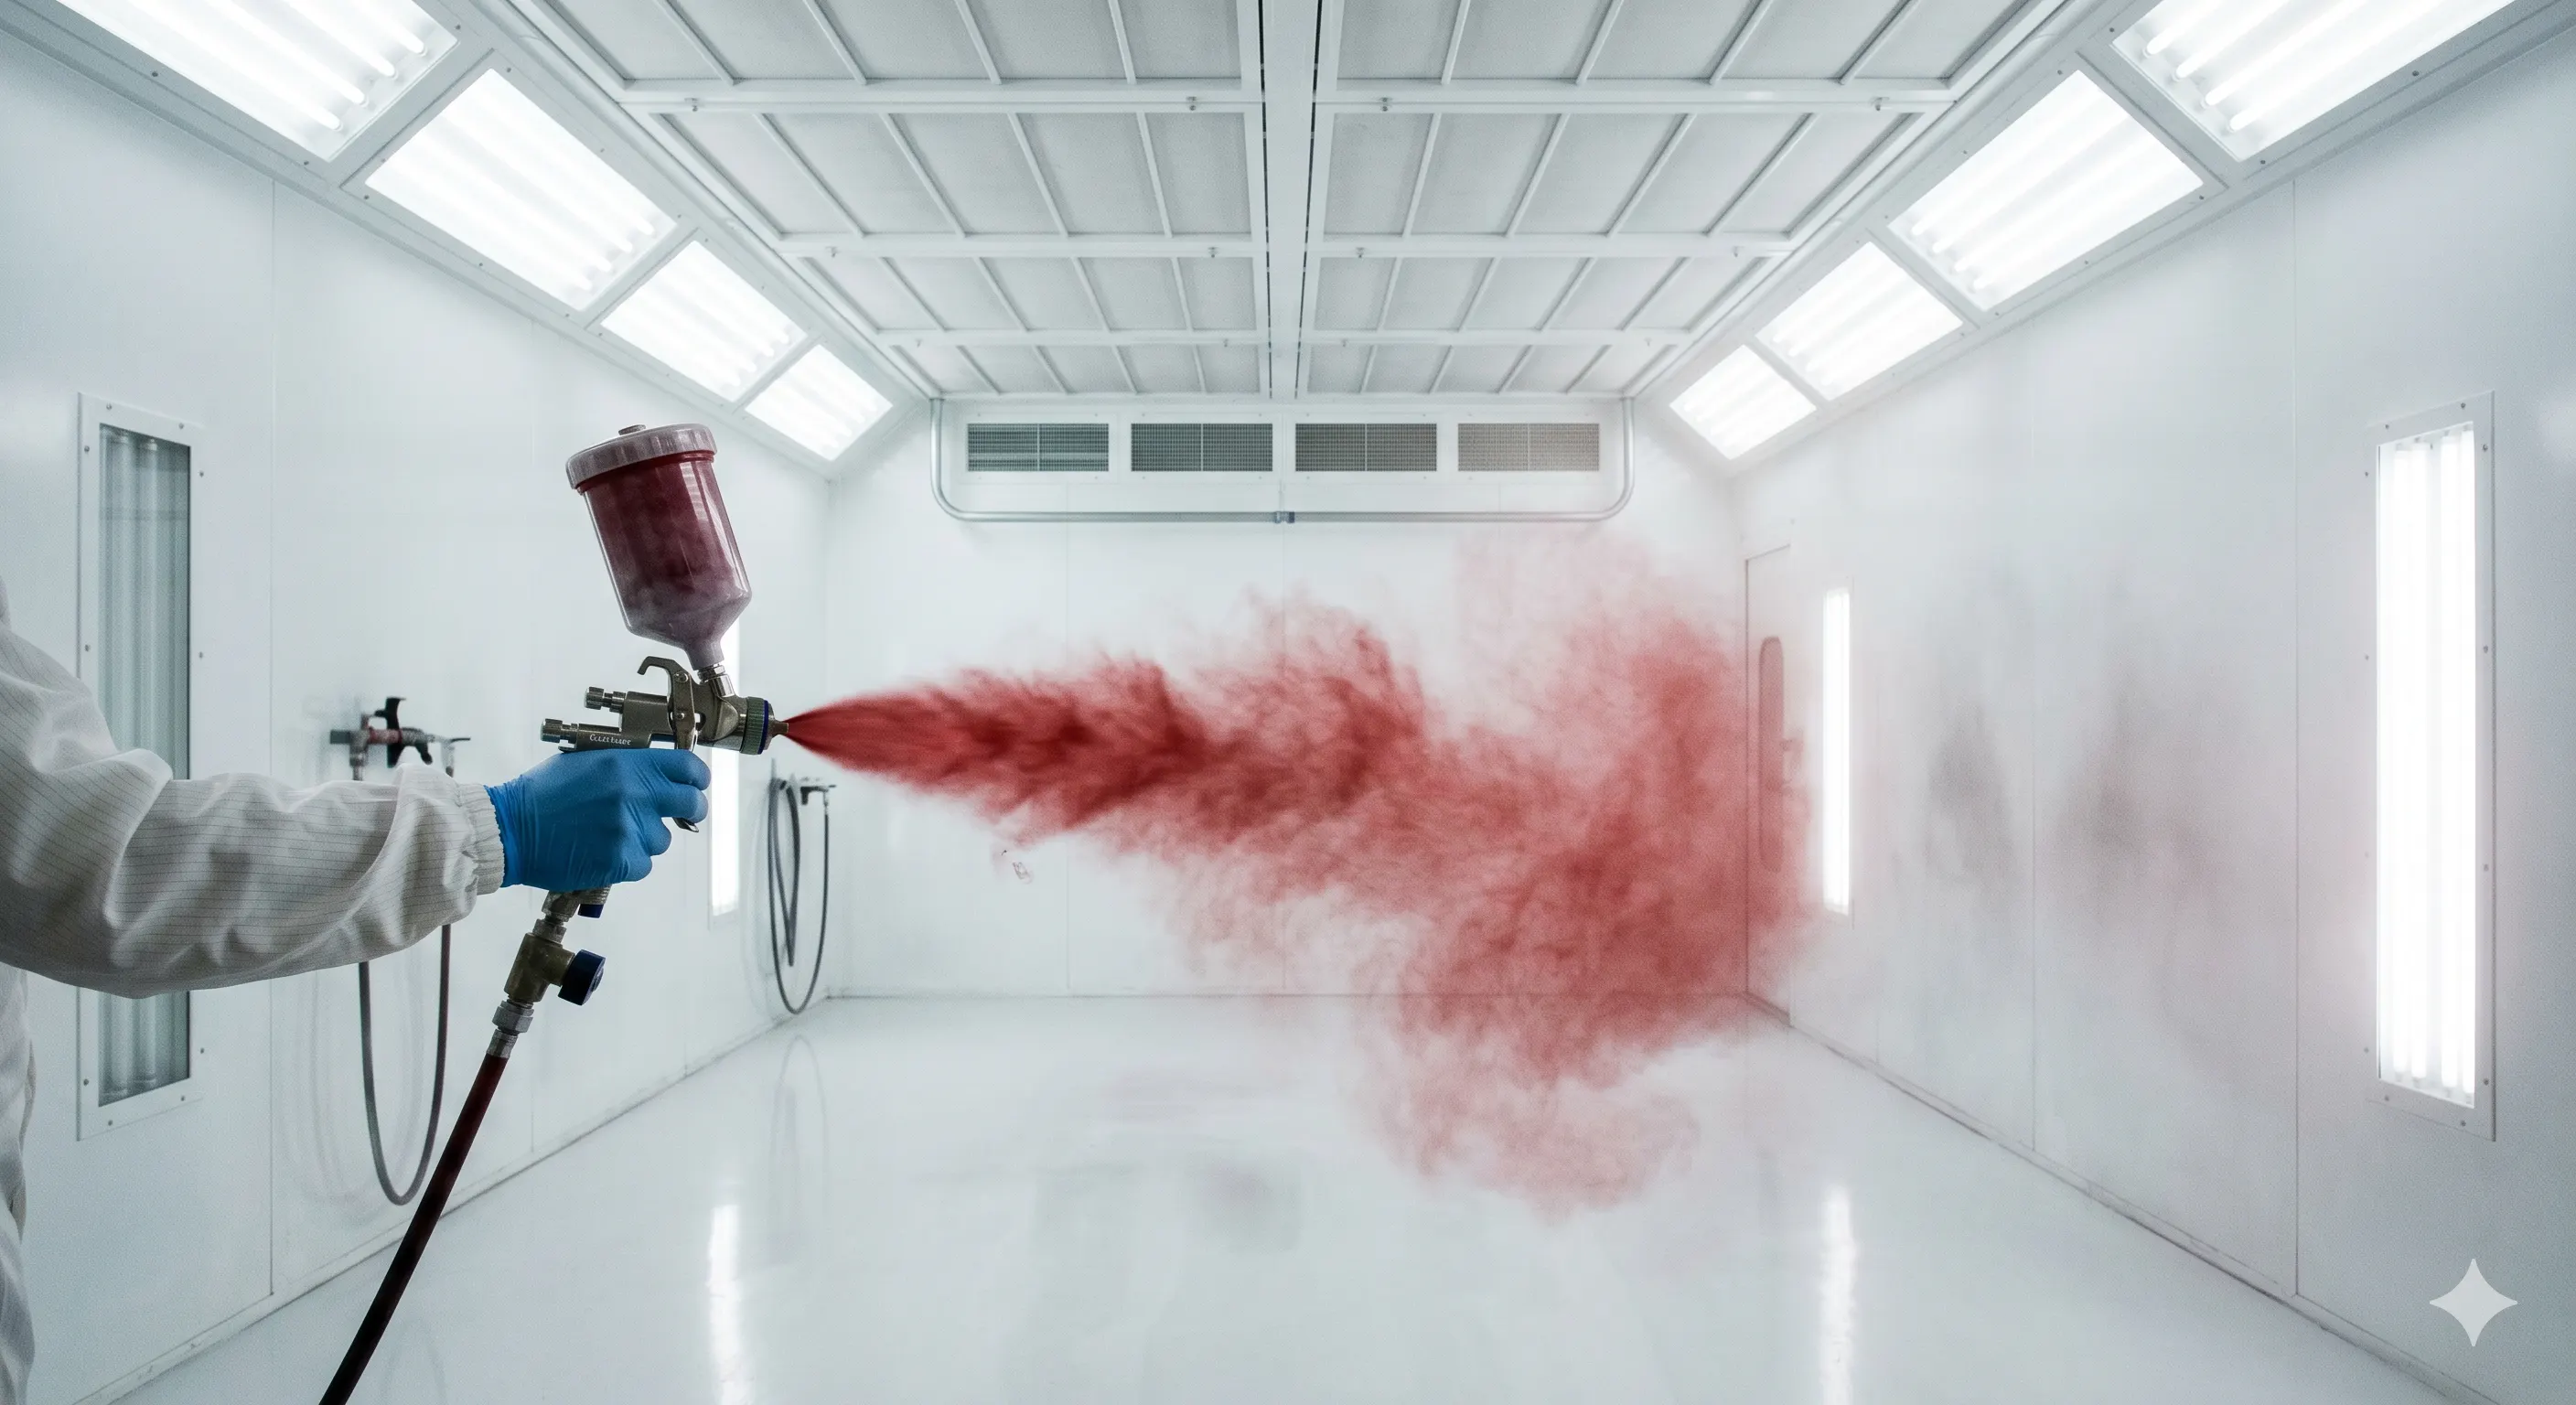
Stage 05
Sealer & Color
The car moves into the booth. Sealer goes on first to lock down the prep work and provide a uniform foundation. Then color — typically 2–4 coats, depending on the system and the color.
For factory restorations, the color is hand-mixed against samples. For custom work, it's mixed against the test panels we developed earlier in the project.
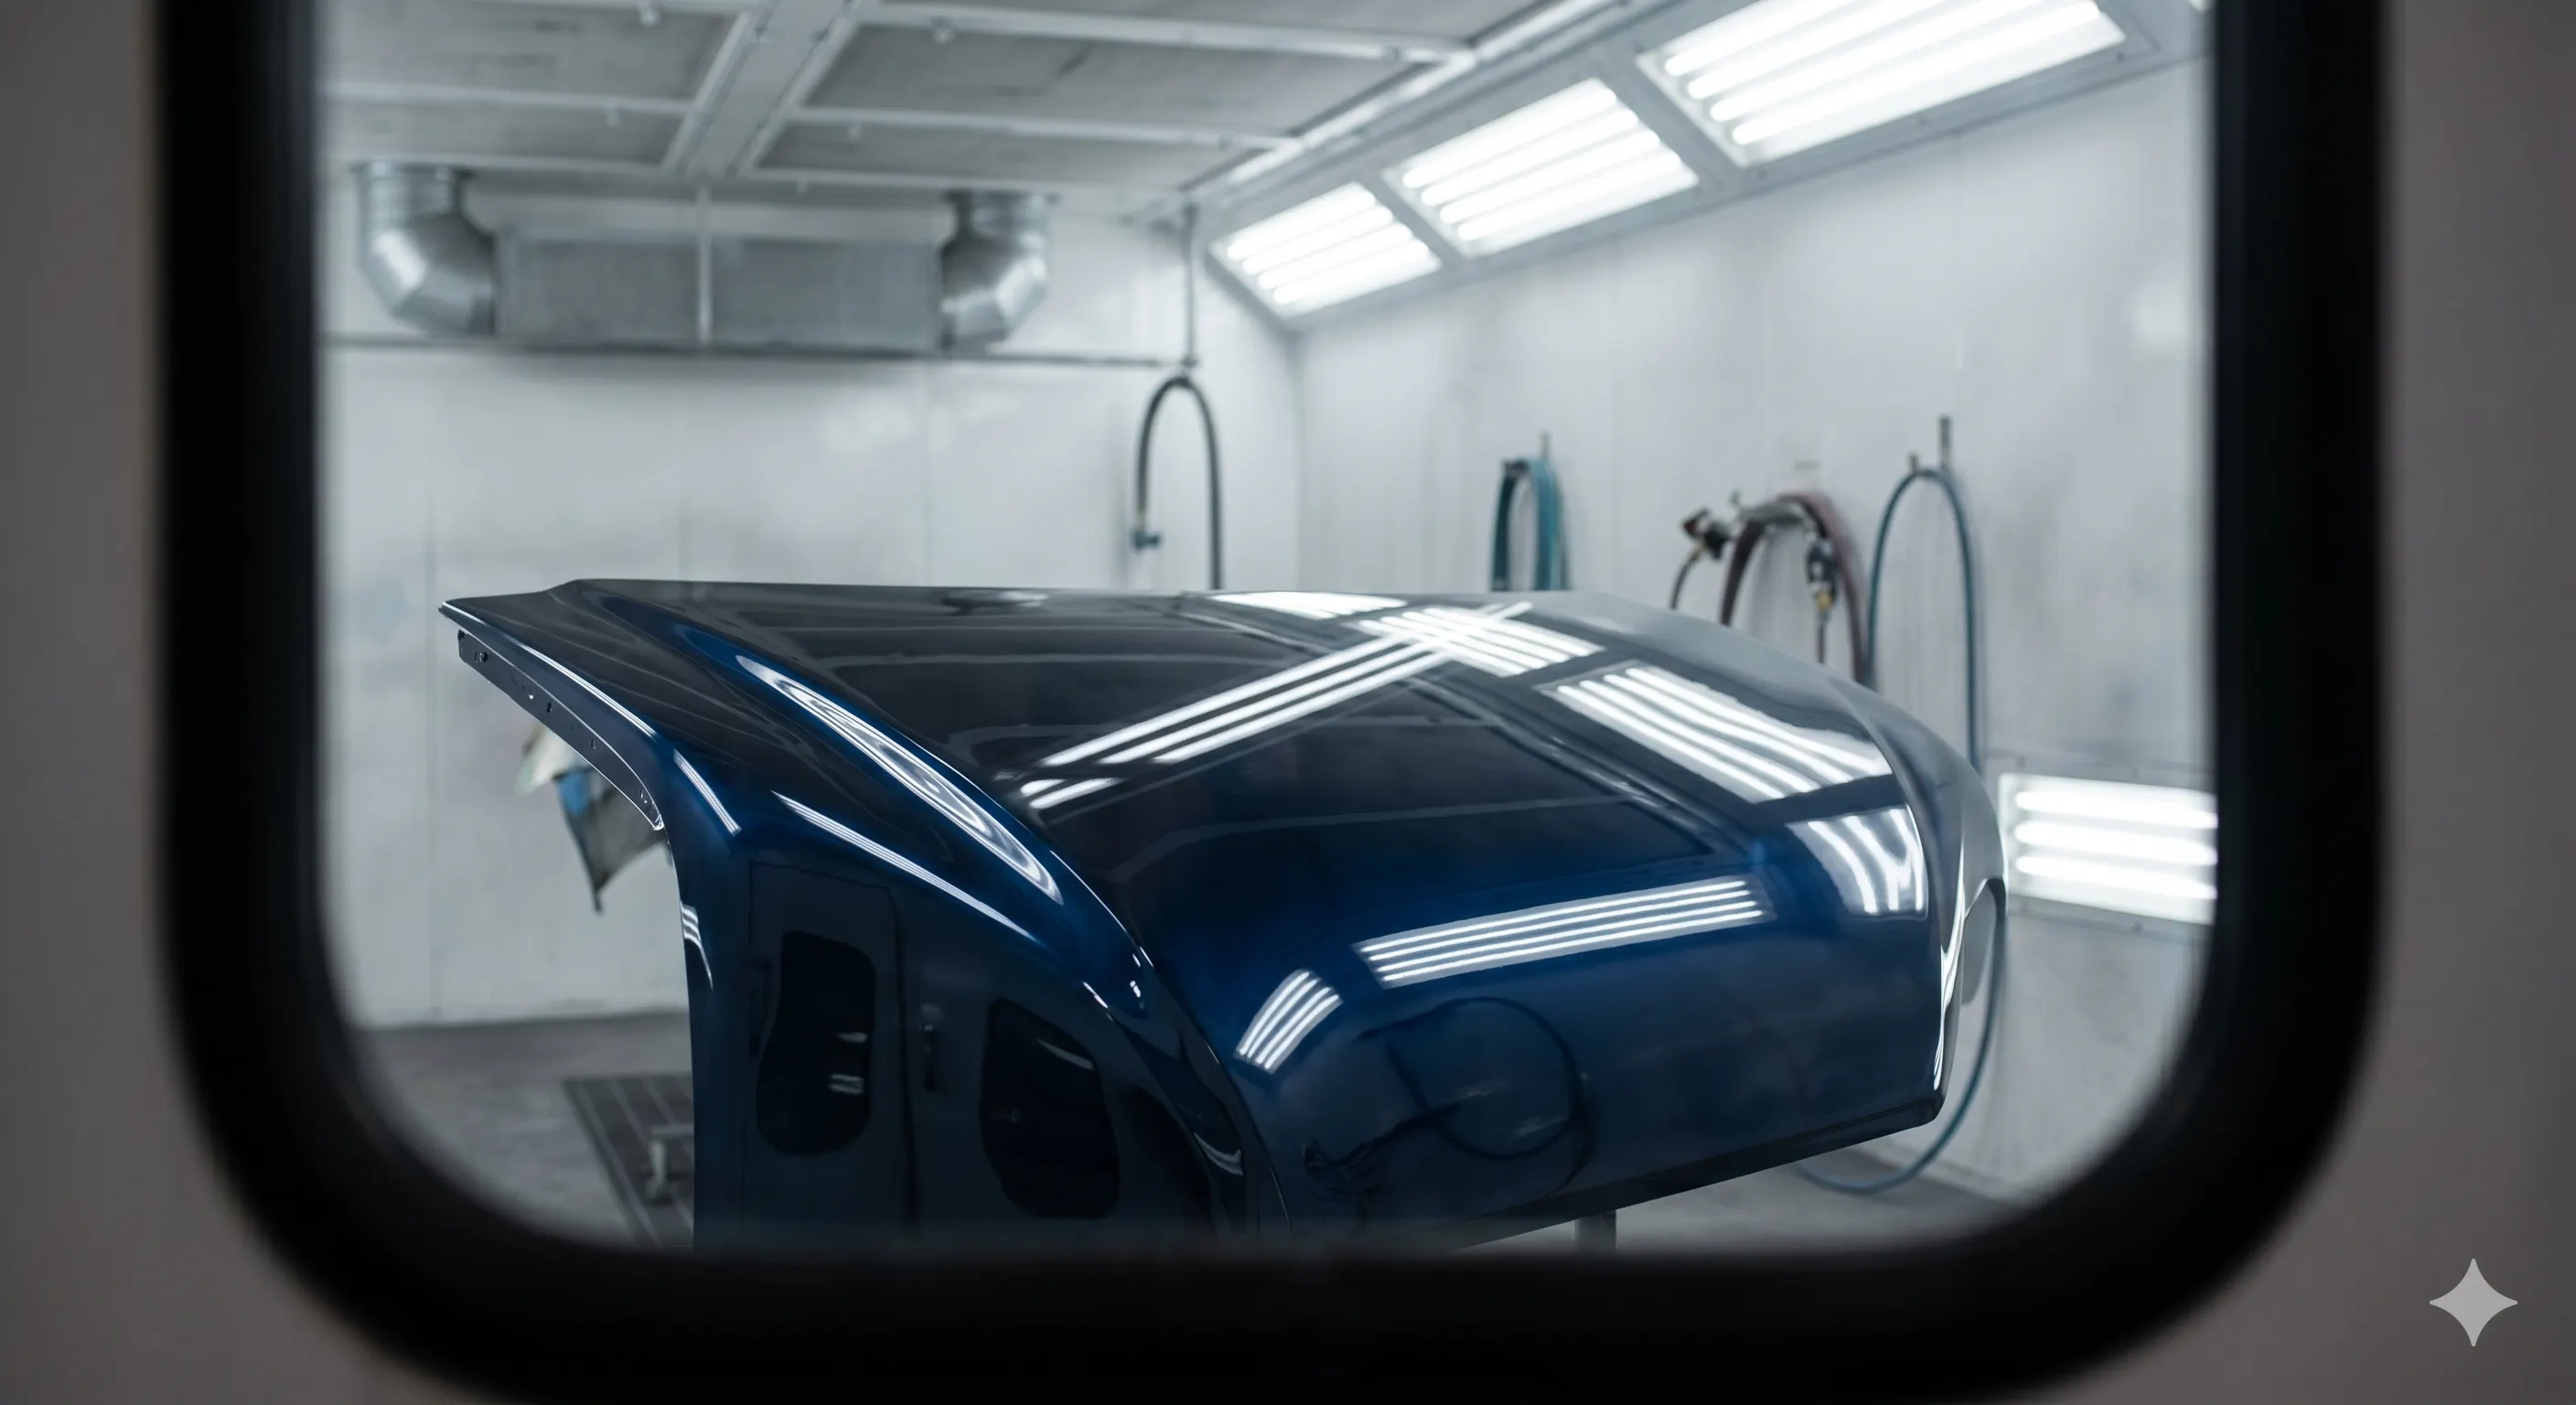
Stage 06
Clear & Cure
3–5 coats of premium urethane clear, applied wet-on-wet within the manufacturer's window. The car is then baked at controlled temperature to fully cure the system.
After bake, the car rests. We don't sand fresh clear — we wait until the coating is fully through its cure cycle, usually a week or more, so the final polish reflects the cured surface, not a shrinking one.
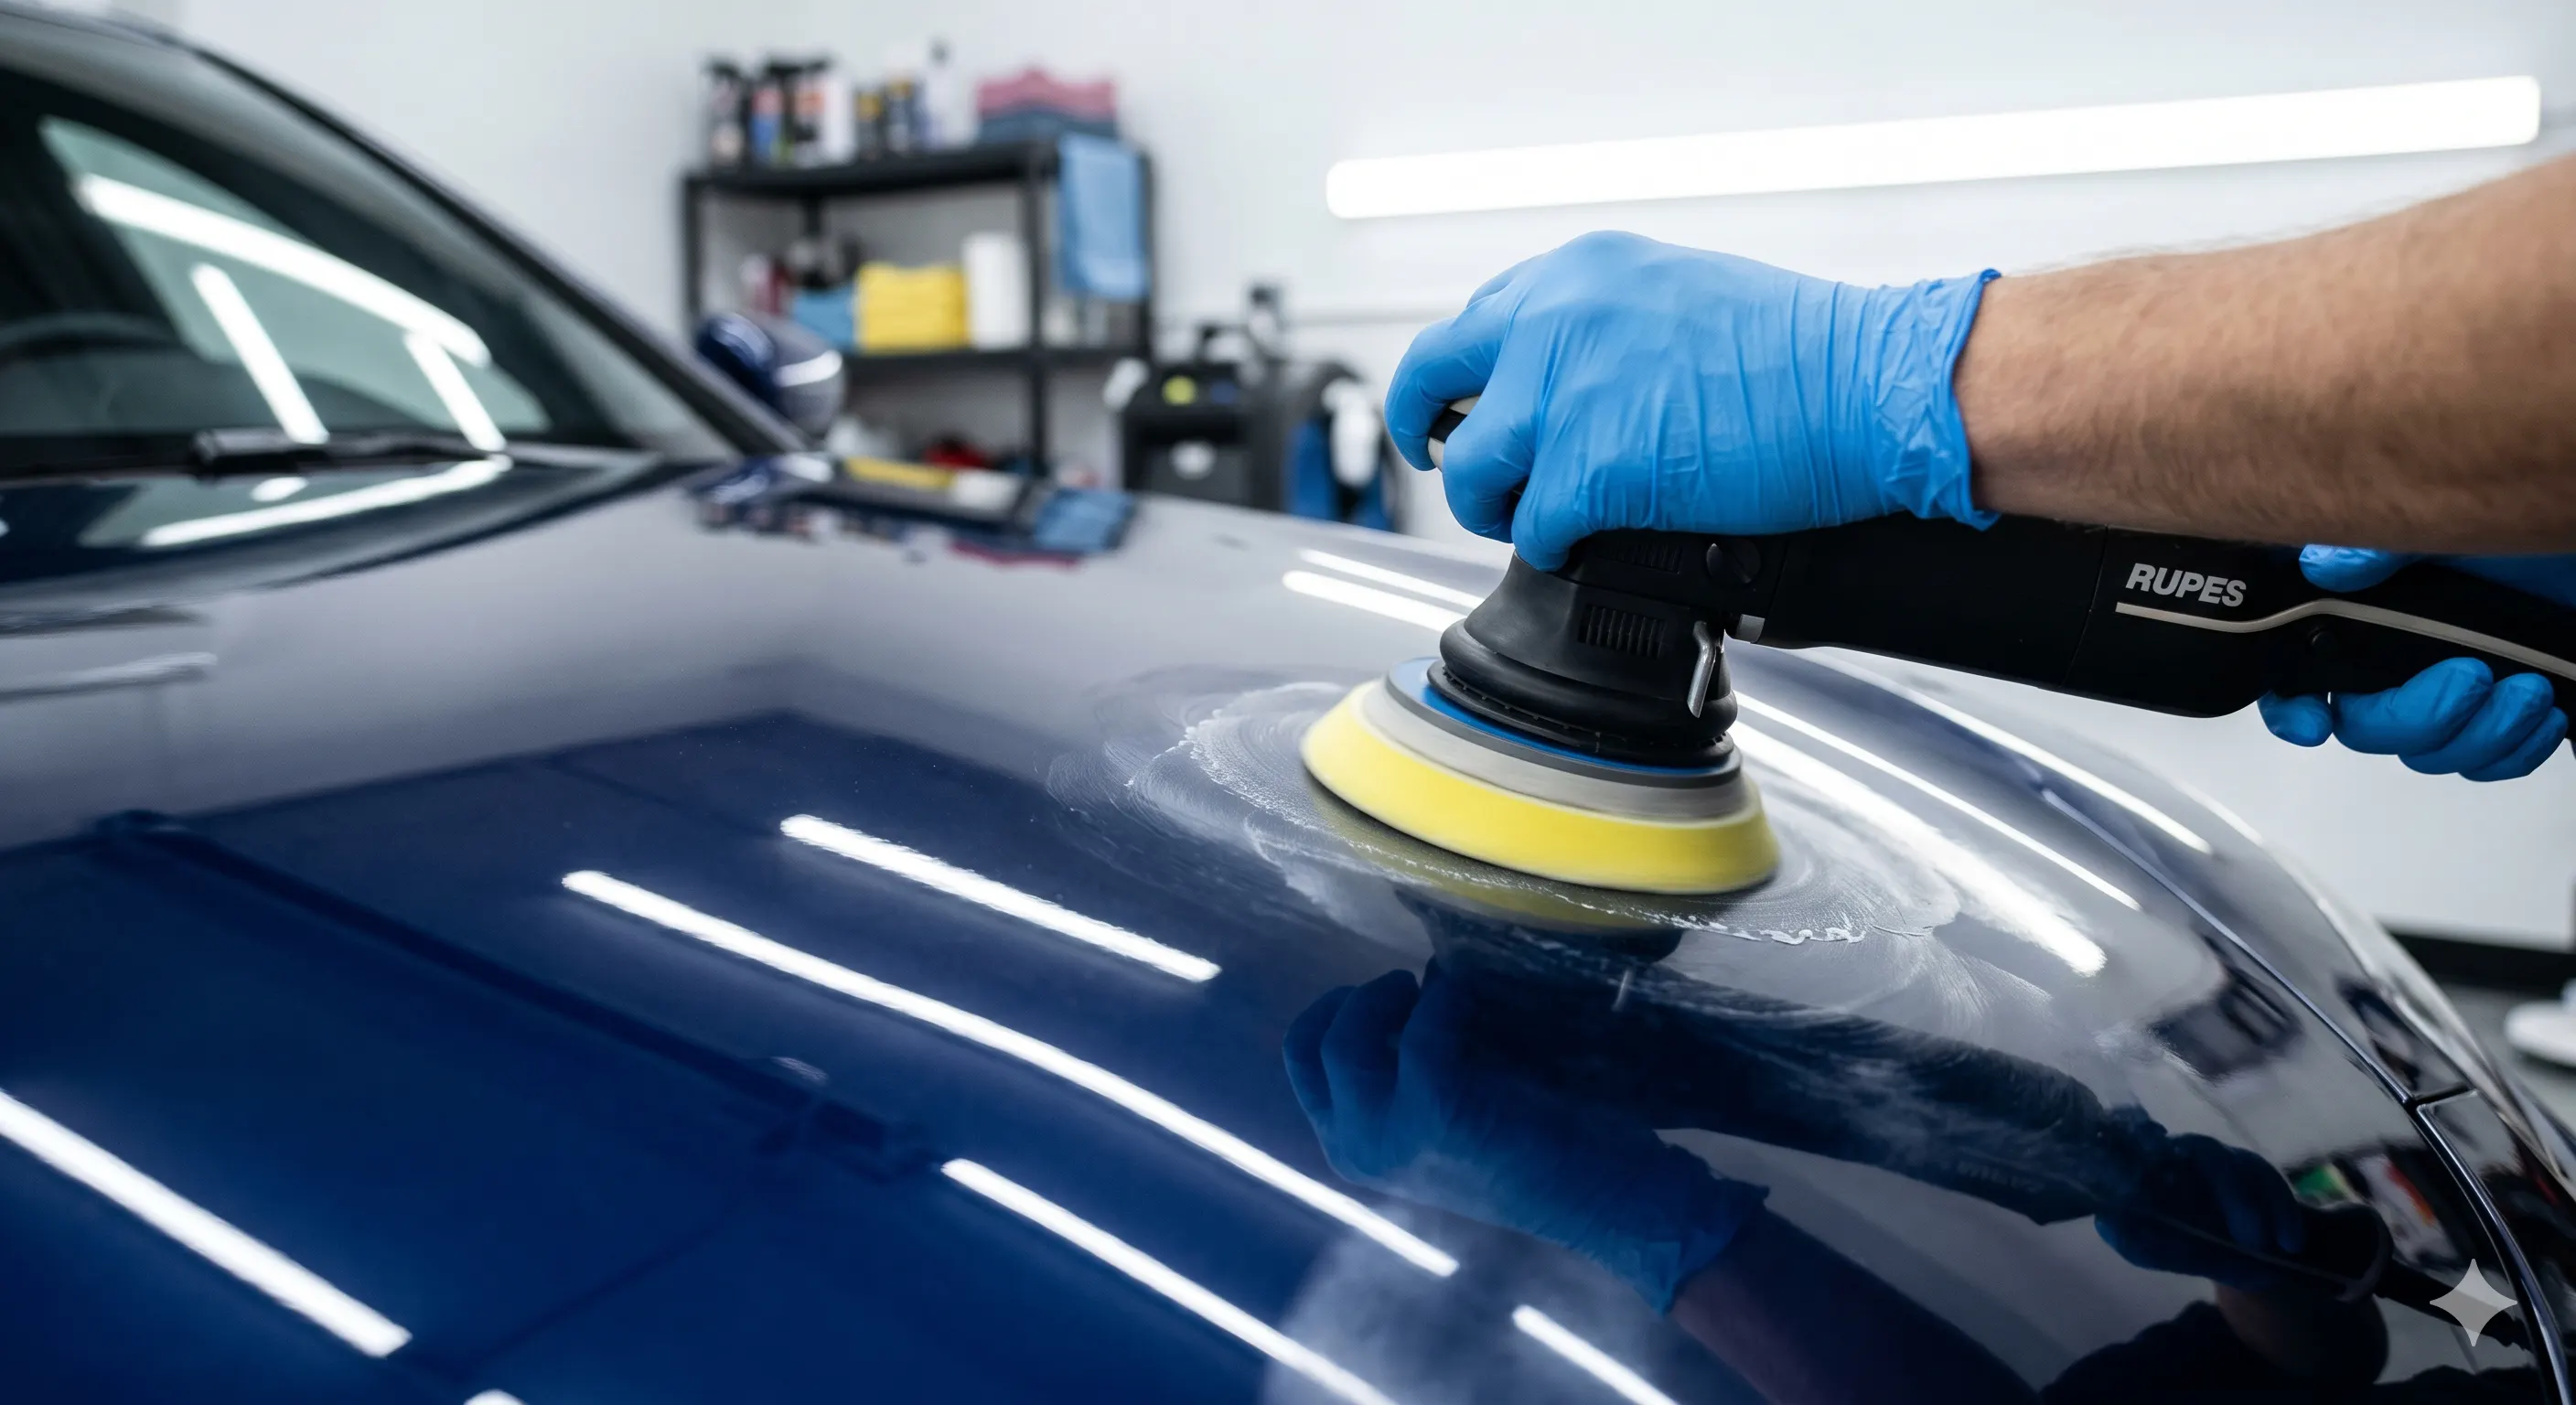
Stage 07
Color Sand & Polish
The clear is wet-sanded flat with progressively finer grits, removing all orange peel and surface texture. Then it's machine-polished through a multi-step compound and polish sequence to a true mirror finish.
This is the stage that separates a good paint job from a great one. Most production shops skip it. We never do.
After the Booth
Reassembly & Handover
Reassembly is just as careful as disassembly. New seals, new clips, new hardware where appropriate. The car is detailed, photographed against a neutral background for our records and yours.
You receive a documentation package that includes the color formula on archival card, photographs from every stage, DFT readings by panel, and our workmanship guarantee in writing.
Ready to Start?
Ready to start a project?
Every project begins with a conversation. Tell us about your car and we'll come back to you within two business days.